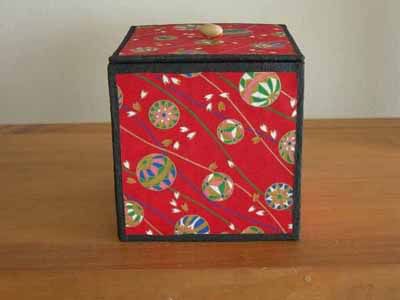
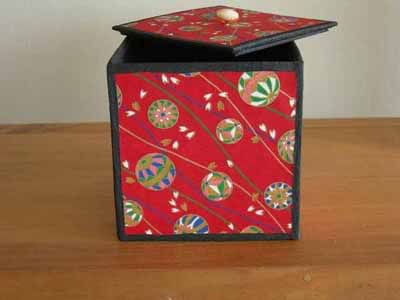
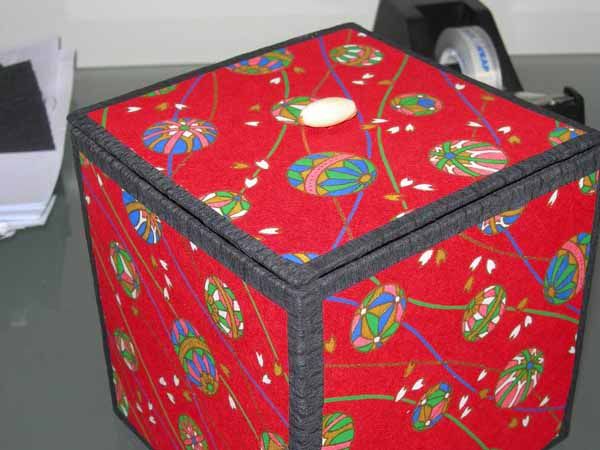
This Japanese box can be used for storing anything small, like jewelry or keepsakes.
My wife is using it to keep jewelry.
There are two ways of making this box. The easier way is using spray glue entirely
(1). The second follows a method closer to the traditional technique similar
to paper mache and the result is a more textured surface. The downside is that
the second option, being more organic, often results in unpredictable bends
on the board and is more difficult to be accurate. Inaccuracy, however, can
be a really nice feature of your craft is it reveals the handmade quality. In
this workshop I have highlighted with green the parts pertinent to method No.1.
These instructions are for the more traditional method but I will make notes
in between for those that are interested in the first method. The box is 12cmsq
and is decorated with Japanese Yuzen paper and crape paper as lining.
Materials:
Knife cutter
Boxboard (about 4 A4 board)
PVA glue
2 x A4 sheets of Japanese Yuzen paper
Black crape paper
20cm of string
2 beads
1 brush
Spray glue
Sticker paper backing (optional)
Knife cutter
Boxboard (about 4 A4 board)
PVA glue
2 x A4 sheets of Japanese Yuzen paper
Black crape paper
20cm of string
2 beads
1 brush
Spray glue
Sticker paper backing (optional)
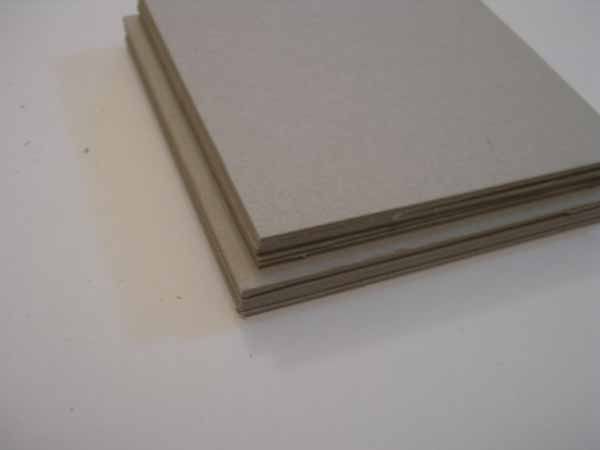
2. Now cut 7 smaller squares subtracting the thickness of the boxboard on all
sides and allowing for the thickness of the crape paper and some glue. E.g.
12cm-(0.03cmx4) = 11.88cm2
3. Stick together two of the smaller squares to be used for the lid.
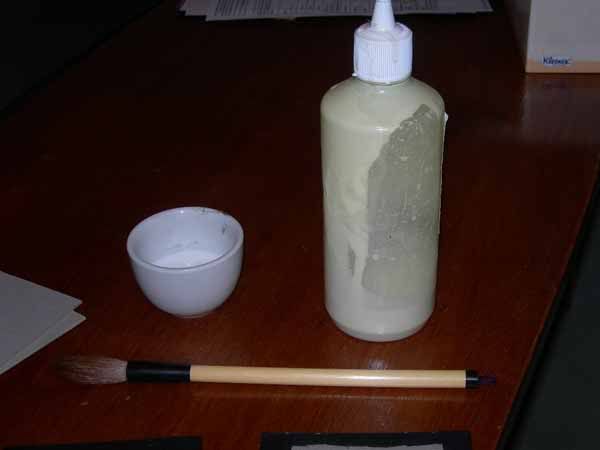
4. To stick the crape paper to the squares make a solution of PVA and water,
about 50-50 worked for me. Use a brush to apply the glue solution by sliding
the brush on a low angle. If you brush with the bush upright the crape paper
might break. If you are using spray glue (method 1) instead you only need to
do this for the small squares. The same as with the PVA solution, you need to
stick the crape paper and fold the excess on to the back of each square. You
can then skip No. 5.
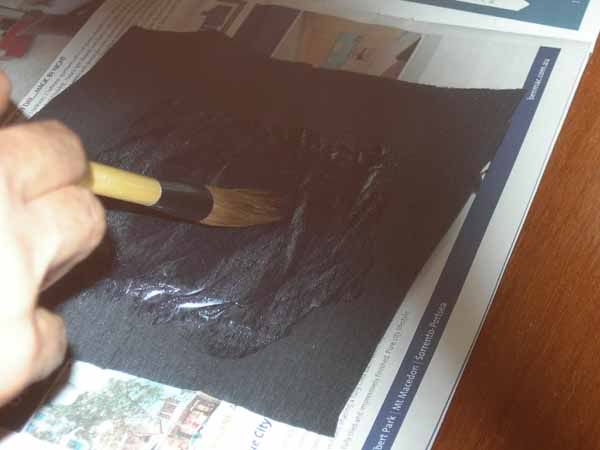
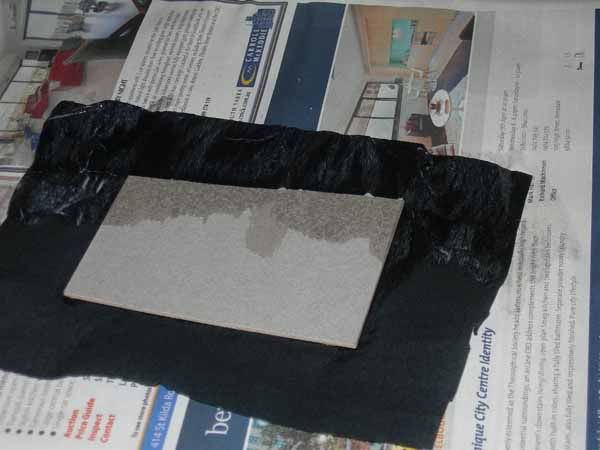
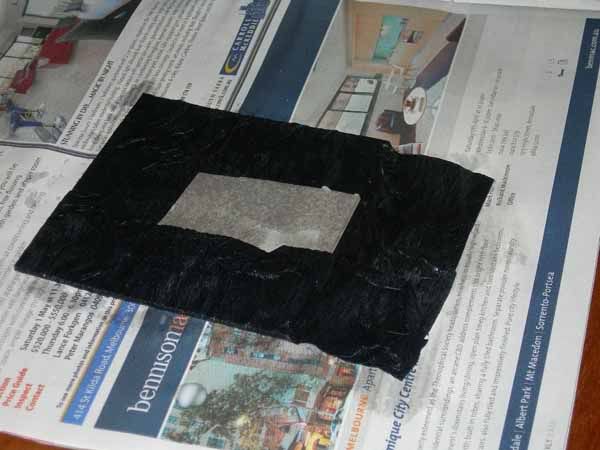
5. Start sticking the crape paper onto the squares and folding the crape around
the sides. This needs to be done with patience allowing the pva glue to become
tacky and pushing down bubbles as they pop up. Eventually you will end up with
a smoother surface with the texture of the paper and some flattened down wrinkles.
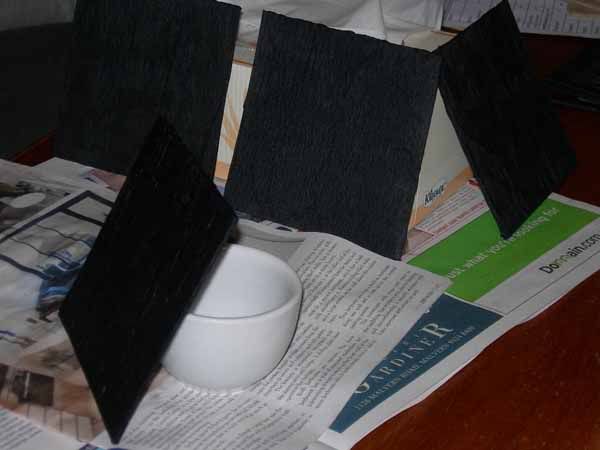
The squares new to have even moisture all around and must have equal access
to air on all areas to prevent it from curling. Some curling is inevitable but
the boards will in most cases curl back if even moist release was successful.
If boards dry bent they may be forced flat in the step that follows. Proceed
to the next step when the squares do not feel cool at the touch (they can be
left overnight).
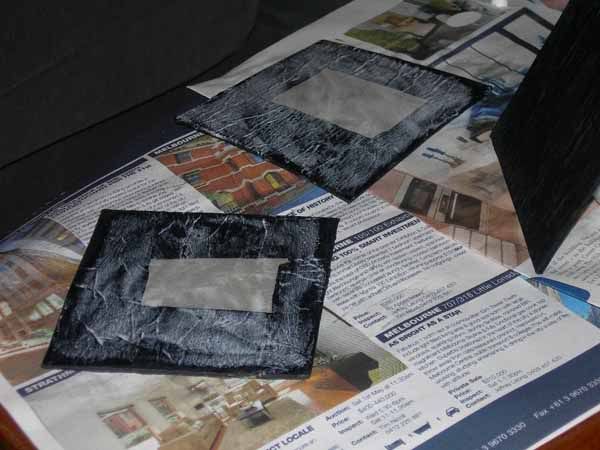
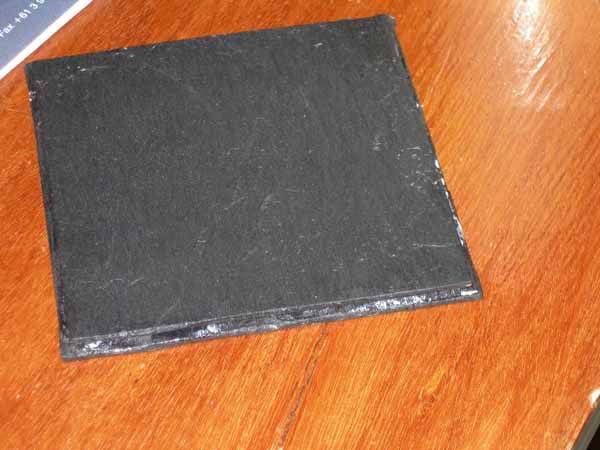
in the inside making sure the squares are centered. Do the same for the lid
except this square will have the bundle of 2 that you stacked together earlier.
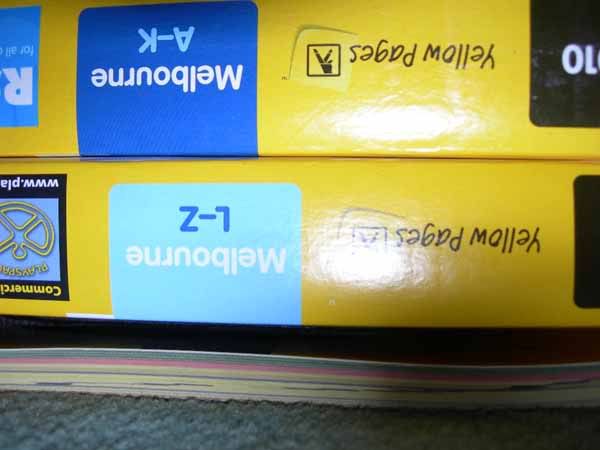
flatten the squares that dried curled. Leave them overnight.
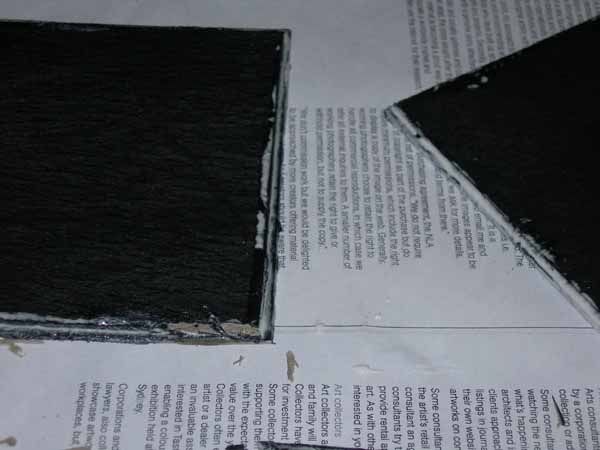
the inner squares were too small as a didn’t take into account the thickness
produced from the layers of crape paper and the glue. I had to cut of about
1 mm off the edges of some of the inner squares as you can see in the photos.
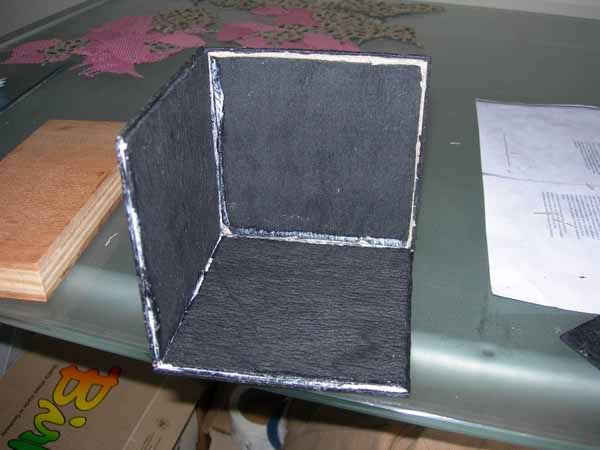
bottom square) together and then the rest after some hours or the next day.
See the diagram of details. Notice that all the side square join at the same
height so that the bottom square and the lid can fit well. To join them place
glue on both areas and wait a few minutes the PVA will start to become transparent
but not yet dry. Press together firmly.
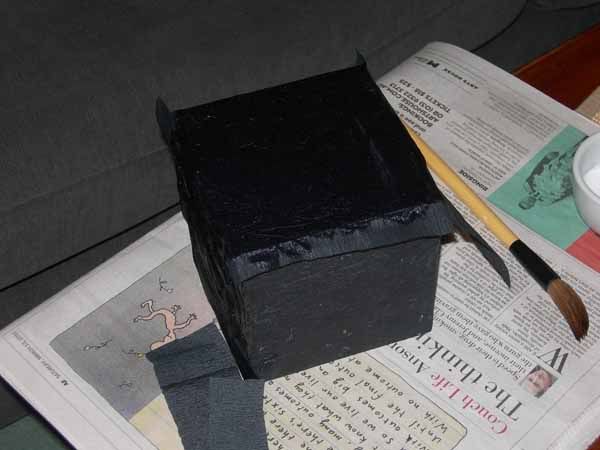
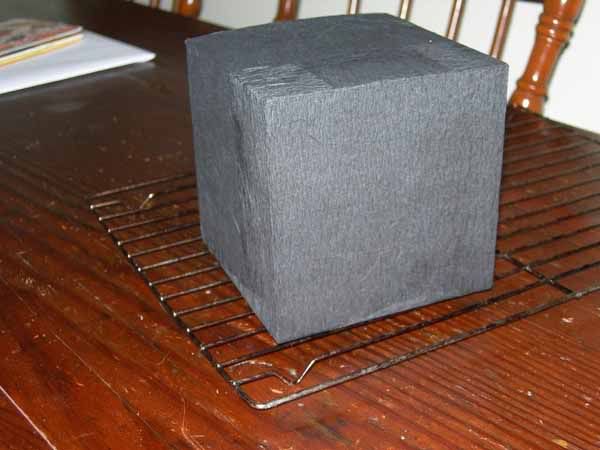
inside and the outside of the box is bare up to this point continue with step
11.) When all four side were in place and dry I put another 2 layers of crape
+ water to reinforce it. First I covered the bottom, let it dry enough to not
stick to the paper underneath and then I did the top area. Be careful not to
modify too much the edges that make the lid fit nicely. To ensure this use a
stick to poke the crape deep into the corners. Leave the box to dry on a kitchen
rack or similar.
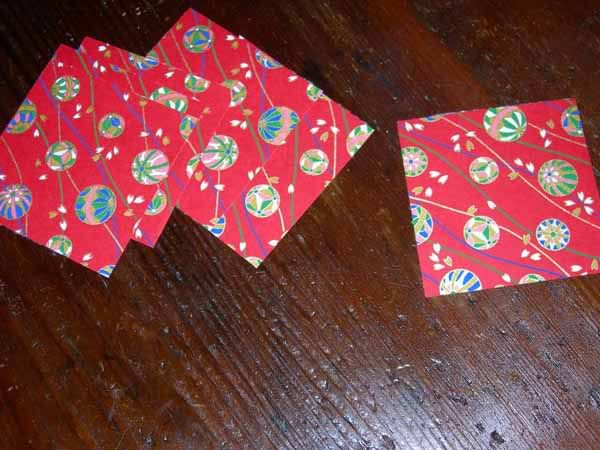
11.5~11cm. sq.
12. Stick them on all sides of the box including the lid trying to place the
Japanese paper as centered as possible. This is best done with spray glue as
PVA glue might make the Japanese paper wrinkled.
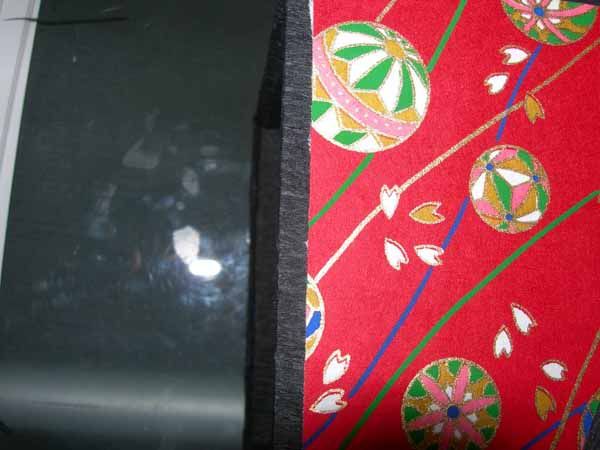
13. (Optional for those using the PVA solution method but required
for those on the spray-glue-only method) Japanese craftsmen cover the corners
of the box with more strips of black paper to hide the edges of the Japanese
paper. See photo for the difference in the result. Again, the best option is
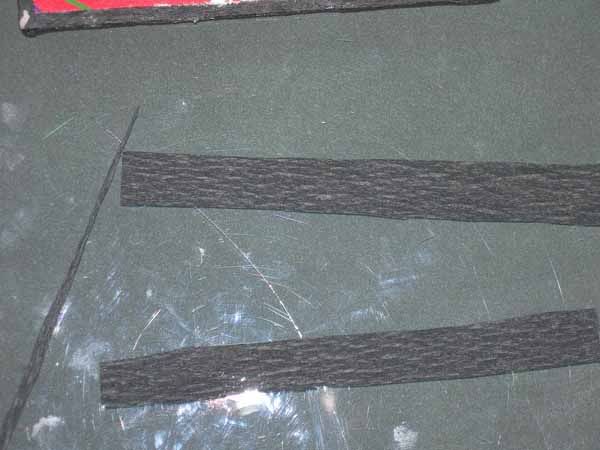
spray glue. Spray a sheet of about haft an A4 of the black crape and stick it
on the backing of a sticker paper. Cut strips of the two papers making stickers
of strips of black crape. The width of the strips needs to be about the space
between the two Japanese sheets on the corner + 3mm. to cover the sheets just
slightly. Peel of a crape strip and stick it on one edge of the box. Continue
with this process until you have covered all the edges. If you don’t have
sticker paper backing you can spry each of the strips and stick them one by
one.
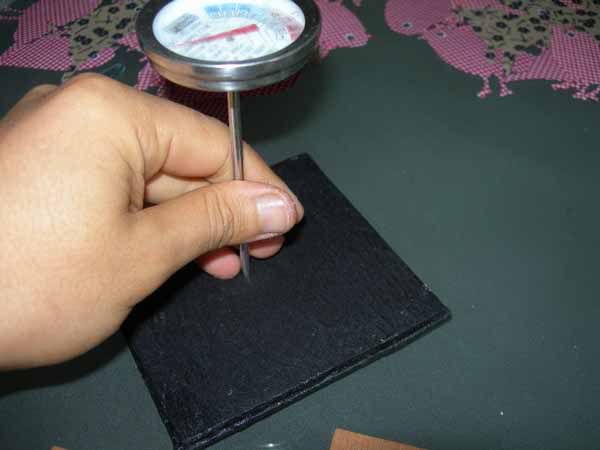
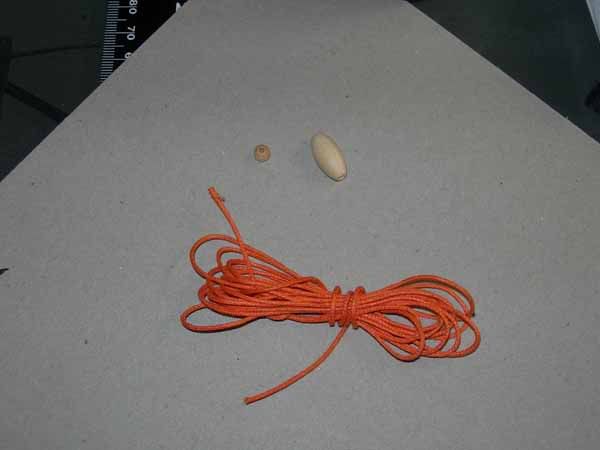
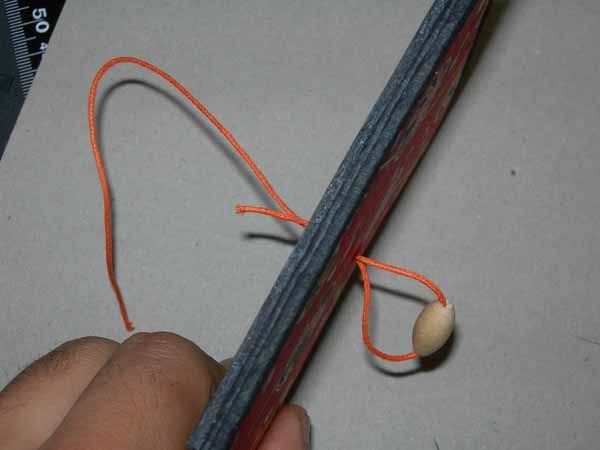
to the center of the two corners of the lid at the back. Then turn it around
and do the same. Where the two lines cross that should be the center. I have
used a meat thermometer from the kitchen but may be able to use a metal skewer
or a large needle to create a hole about 1.5mm in diameter.
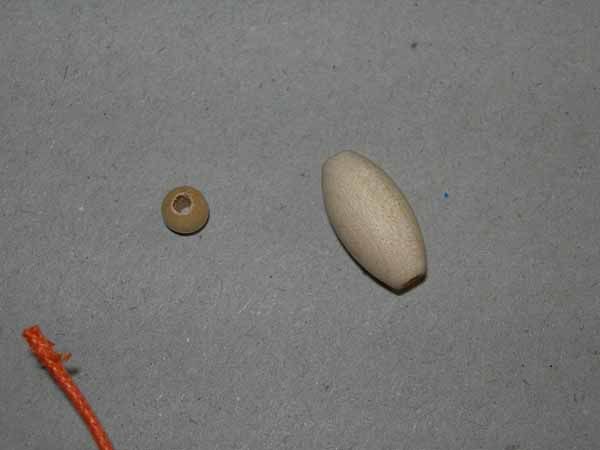
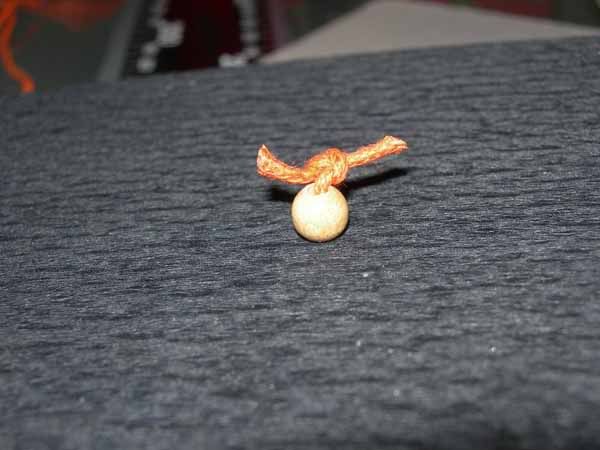
15. Thread the larger bead and pass both ends of your string the hole of lid
from the top through to the inner side of the lid. On the inner side thread
the smaller bead and tie the ends of the string and cut the excess.

No comments:
Post a Comment